Bones Are Their Money
September 22nd, 2022
We’ve finally begun working on replacing our placeholder characters with some fresh, beautiful skeletal meshes. Here’s our process of how we integrated the new skeletal meshes into our game and some of the challenges that we met:
Meshes
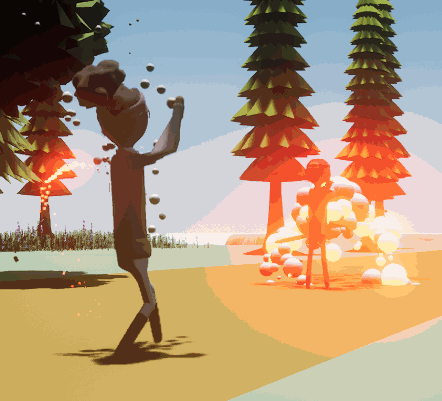
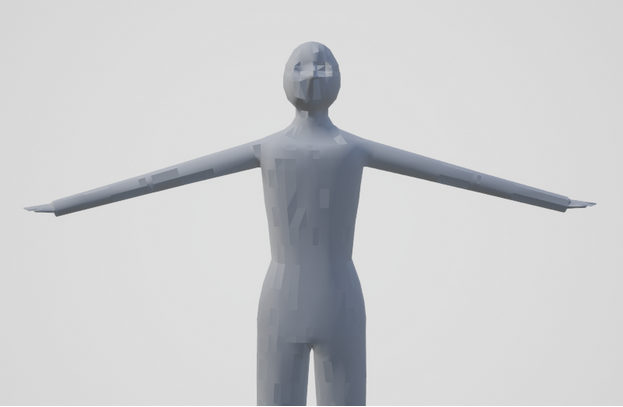
Our placeholder character meshes were a bit… creepy. However, they did fulfill their purpose of allowing us to learn and experiment with skeletal meshes in Unreal. Our first step in creating our placeholders is to create the skeletal meshes using Maya. Next, the meshes are bound to a common skeleton that will be used for all humanoid meshes. We then export the meshes as FBX files that have been smoothed.
The smoothing of the models adds extra triangles to the meshes which allows the meshes to have continuous contours. We use Unreal’s LOD (level of detail) generation system to reduce triangle counts when viewing the characters at a distance. The original meshes could be composed of roughly 80,000 triangles when viewed up close, while the mesh shown at a distance may be reduced to 3,000 triangles. By using simpler meshes when the camera is far from our characters we will have improved GPU performance.
The placeholder. Don’t make eye contact
Animations
The characters in our game can wield a number of different weapon types, so we have to ensure that we have animations to cover each case. Our Animation Blueprint is constructed in a way where we can reuse common animations that don’t relate to the different weapon types. Our Animation Blueprint’s Animation Graph used an attack cycle composed of 3 states:
- Drawing the weapon
- Getting into a ready pose
- Attacking
The draw animation involves the character fetching their weapon from their belt or back. For attaching weapons to hands and other points we used sockets on the character’s Skeleton. The ready animation places the character into a combat-ready pose, using the drawn weapon. Finally the attack animation is the actual act of attacking a foe; such as, swinging a sword or shooting a bow. The character will cycle through the animation states, until they are required to do something else, by going from draw, to ready, to attack, to ready, to attack… The ready/attack repetition enables the attacker to return to their starting attack position, while blending with a separate animation. This separate animation can be something like grabbing another arrow from a quiver, or preparing the next incendiary grenade.
When the characters move around they can be in 3 different states of motion:
- Walking
- Running
- Sprinting
To combine these states we use a Blend Space. We chose a 1 dimensional Blend Space, meaning that we can blend between these states based on 1 parameter. In our case, the current movement animation depends on the magnitude of a character’s velocity vector.
While the character moves around, they can also be ready for battle by having their weapon drawn and in the ready position. To allow for the blending of our movement and ready animations, we split the blending at a specific skeletal mesh joint. By doing this, a character can run at its opponent while simultaneously preparing their weapon. Not only does this look cinematic, but it ensures that characters don’t have an awkward pause when arriving at their foe. With their weapons ready, the action can begin the moment they meet.

Using the blendspace
By combining the movement and combat animations we had a fairly good proof of concept regarding how we would go about building a more refined animation system, and how we could make it extensible.
The new character skeletal meshes, while beautiful, introduced a few challenges. We wanted each weapon to be drawn and readied accurately, so we had to replace a couple of existing, shared animations with unique ones per weapon type. We also wanted the characters to manage their projectile items accurately, things like arrows and grenades. Here’s an example of the bow and grenade weapon types. Notice that the Grenade type doesn’t use a Drawn state, because there will only be a projectile in use.
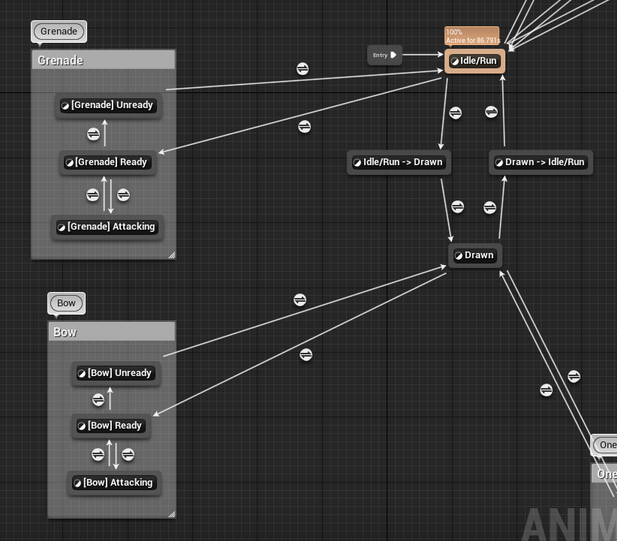
Updated animation graphs for bow and grenade weapons
Another improvement from the placeholder animation graph, was the addition of an un-readying state. With a simple melee weapon, there is nothing to do when not actively attacking. A character can just keep their sword drawn until the next engagement. However for a bow, the character would want to place their drawn arrow back in the quiver, and a grenadier would want to put their grenade away. This was the purpose of the Unready state: ensuring a character is always ready to begin an animation despite being in the middle of attacking. We’re essentially making sure that every one-directional animation state has another animation state to revert it. We don’t want anyone chopping down a tree while still holding a grenade.
In a future blog post we will share some of the choices made in designing the characters’ AI and state management, and how this AI connects with the skeletal animations. Thanks for reading!